MONSTERMADE by Martin Dalcourt
Disclaimer
By viewing this site you agree that the use of all the info, content, methods, tools contained herein is solely at your own risk & there is no guarantee made herein.
You also agree to not hold Martin Dalcourt and this website (or it's affiliates liable for any damage, personal injury and/or death, or any other loss or damage that may result from the use of the following info, tools, materials and/or methods contained herein.
Questions or comments should be sent to: karaokehost@hotmail.com
MONSTERMADE by Martin Dalcourt
Props on this page (In this order):
Props 1 Page (In this order):
JACK
SKELLINGTON
SKELLINGTON
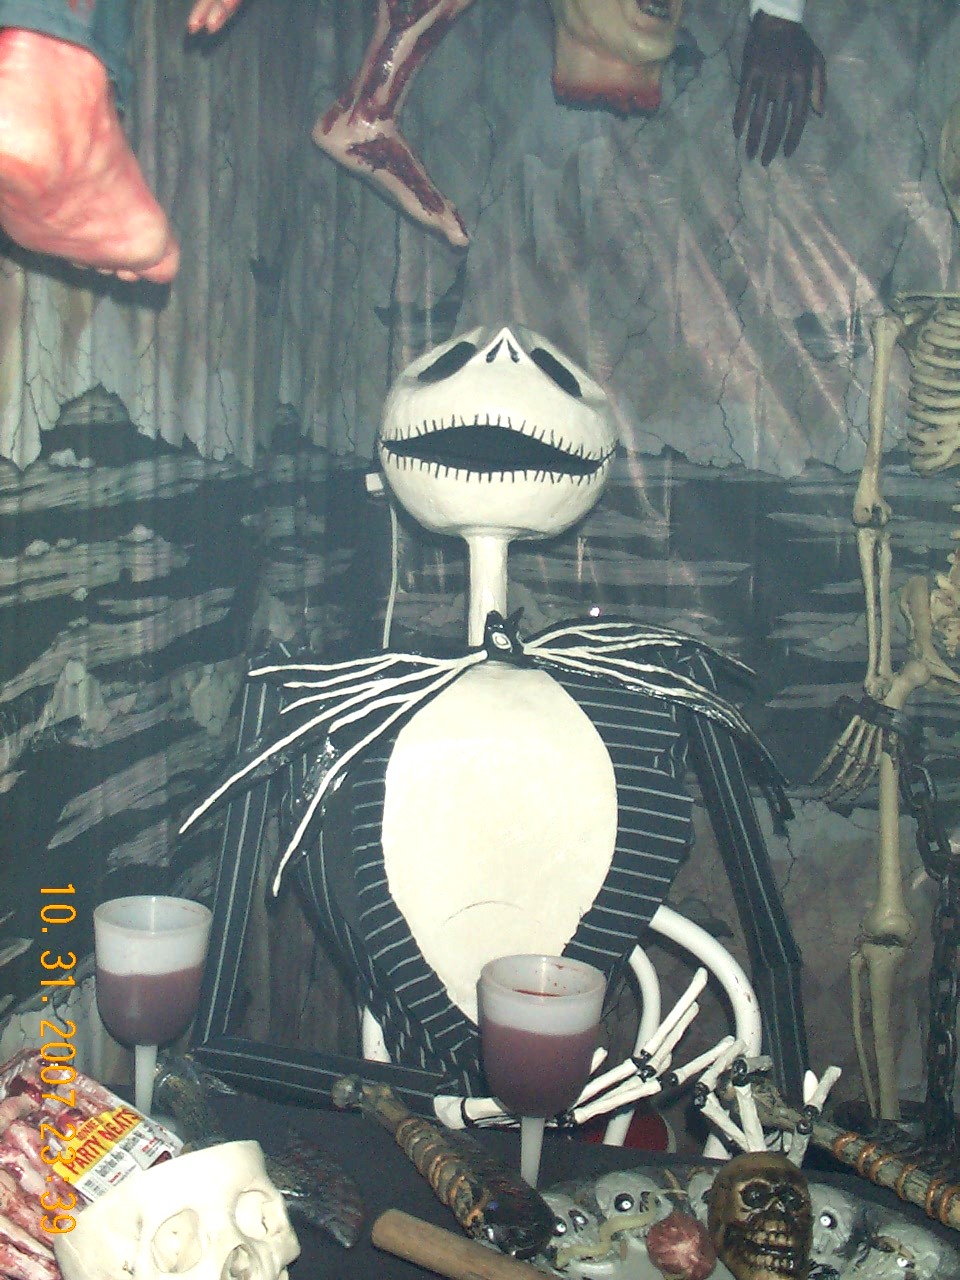
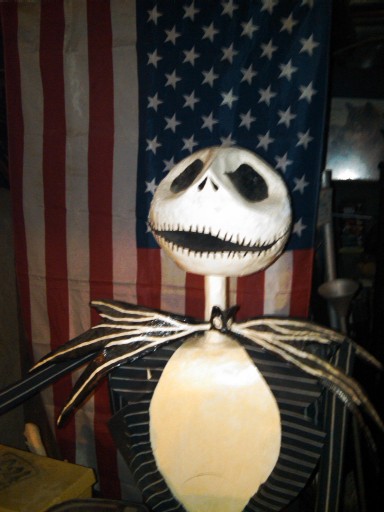
This is the first prop that I designed & built with no assistance from any other site. My first original prop from concept to completion. Woohoo!!!.
The inspiration for this prop came to me in the form of a partially deflated basketball... The shape reminded me of something and I couldn't quite put my finger on it....
The inspiration for this prop came to me in the form of a partially deflated basketball... The shape reminded me of something and I couldn't quite put my finger on it....
4 a) After cutting the paper mache ball in half, I cut the mouth shape and dry fit it together to get the right look.
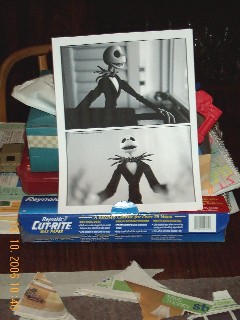
1. I started off by printing a front and side view of Jack to get measurements and keep everything proportioned to the original.
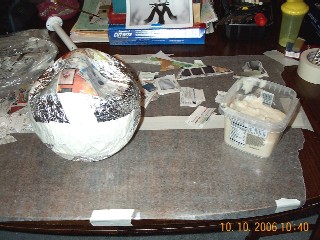
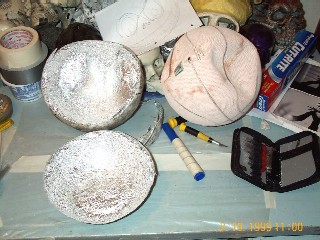
2. So here we are covering the basketball wrapped in tinfoil with paper mache paste. I gave him 5 coats and he's pretty solid. This mache paste was a mixture of flour, water & salt.
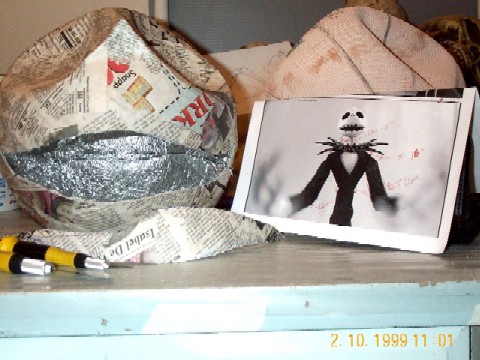
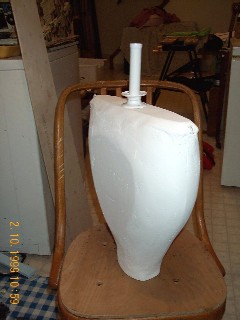
3. In order to free the ball from the paper mache, I had to cut the ball in half and then tape & paper mache it back together.
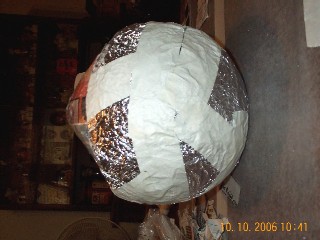
5 a) Here is a view from the back of the head to show how I put the it back together.
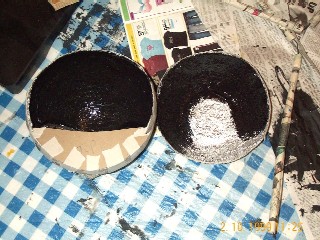
4 b) While I had the head in 2 pieces I painted the inside black and decided on how the head would attach to the body... as well as build an upper lip inside the head for support
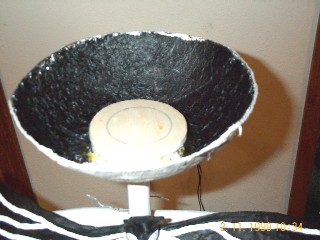
4 c) I decided to use wooden discs that I would fasten on the inside and outside of the head and mount them onto a piece of pipe that had 2 collared brackets.
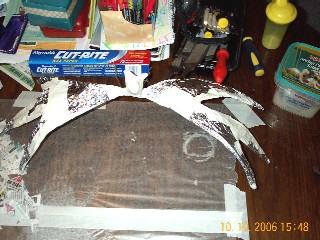
5 b) While getting the head ready to put back together also created his bow tie bat using 2 metal coat hangers that I bent into the proper shape
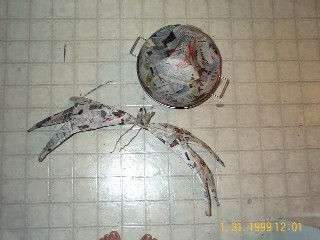
5 c) Here is the head and bowtie drying.I used a wire strainer to dry the head in to help airflow get to all sides without losing the desired shape
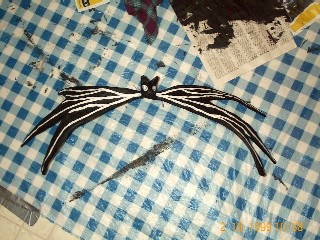
6. Once dry bat was painted using pictures I printed as a guide.
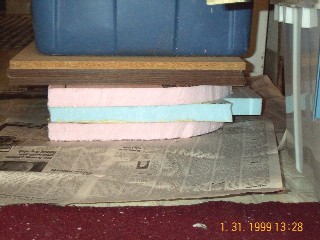
7. Jack's upper body is simply 3 pieces of foam glued together and then shaped and sanded to matchup to the pictures.
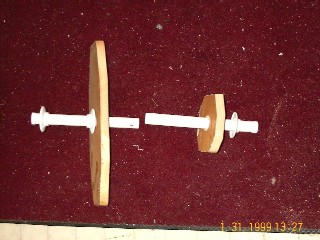
8 a) To attach all the pieces together I cut 2 wooden piece for the shoulders & waist that are glued to the styrofoam and attached to the neck and base via the spare pipes, notice the 3 collared seperators... The collars had screw holes that I used to mount to the 3 pieces of wood together: inside & outside the head, at the shoulders & at the waist.
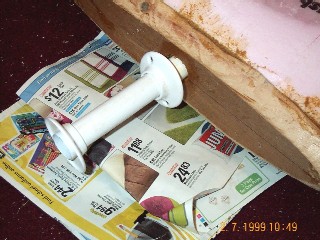
8 b) Here's how the neck pipe attached to the wooden shoulder piece, the other end attaches to the woocen disc at the bottom of the head.
11 b) Once sanded and painted; the neck brace is attached to the wooden shoulder piece.
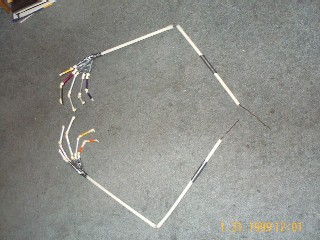
9. Arms & Hands were created using thin plastic tubing, pens & duct tape. The fingers were all fed onto a coat hanger armature.
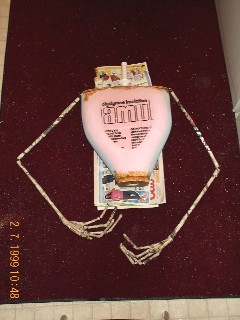
10 a) The arms and hands were papermached.
^
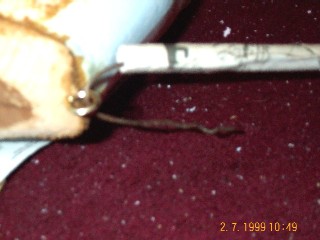
10 b) Then attached at the shoulders by feeding the coat hanger through an eyelet.
v
10 b) Then attached at the shoulders by feeding the coat hanger through an eyelet.
v
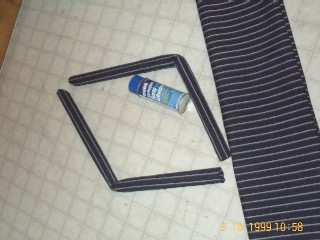
11 a) A trip to Walmart weilded some striped material that was perfect for Jack's suit. The sleeves we made using gift wrap tubing and the material was attached with material adhesive spray.
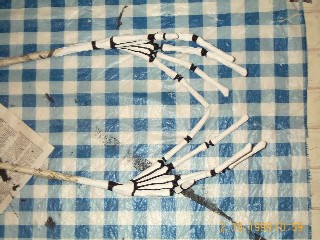
10 c) Some black & white paint helps to bring these hands to life
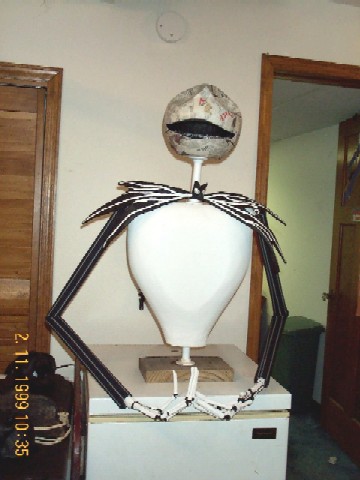
12. Almost done... needs a jacket and face paint.
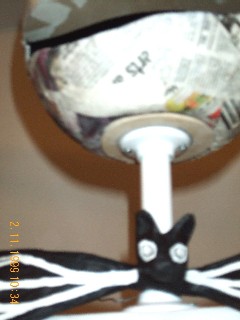
4 d) This pic shows the outside wooden disc underneath the head and how it fastens to the collared metal pipe.
<~~
<~~
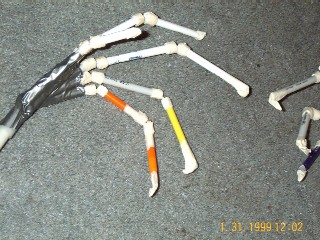
9 b) Closeup on the hands shows how each section of finger is seprate allowing for the ability to pose the fingers.

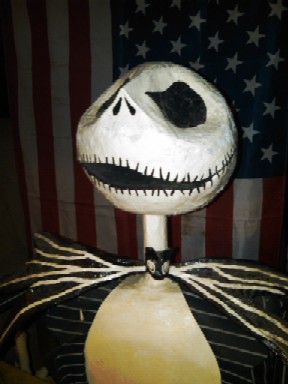
13. Jack was given as a gift to a friend but left in a cool damp basement nd suffered severe peeling. He has been brought back to me for repairs so as I get to him and fix his a-peeling personality I will post newpix here (stay tuned)
'... Whenever I look at something, I see not only what it is but also what it could become with a little help from the Monster.'
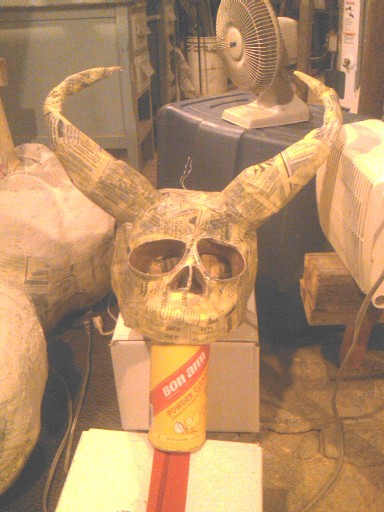
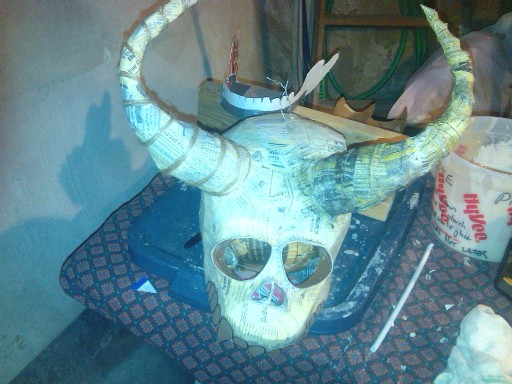
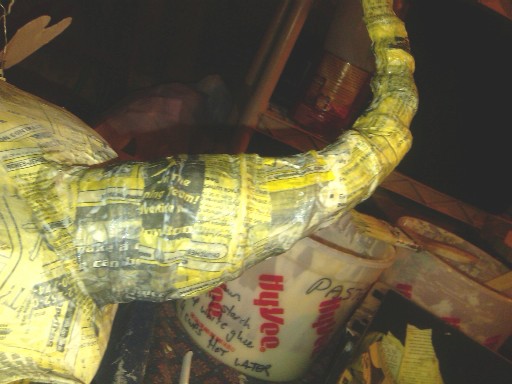
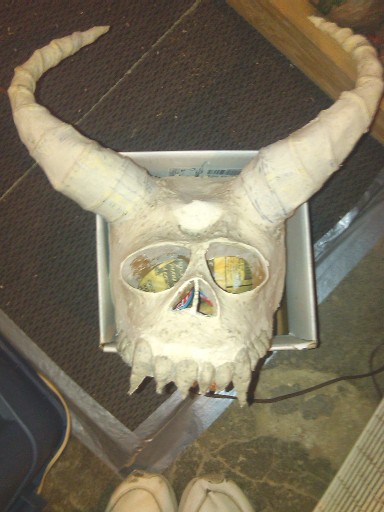
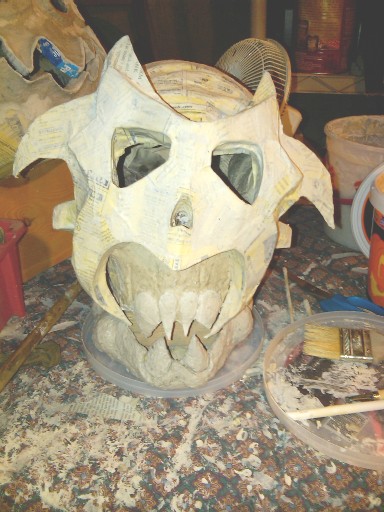
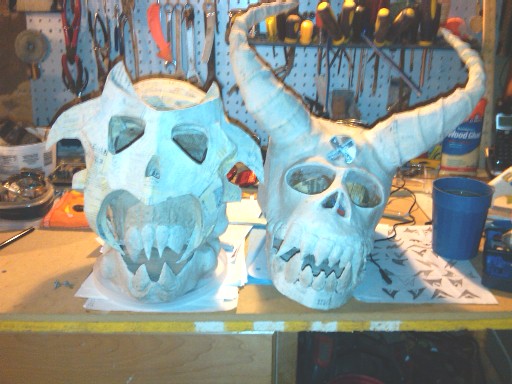
Demon Warrior #1
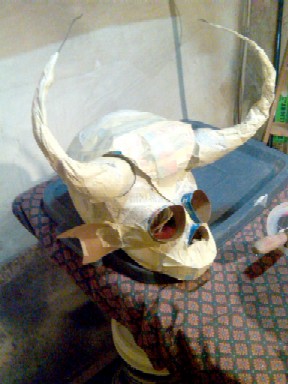
Demon Warrior #2
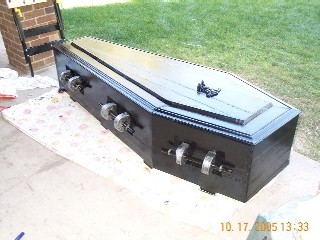
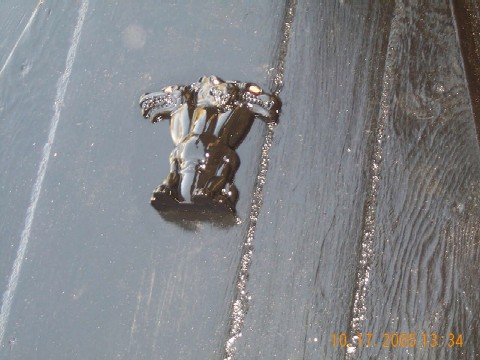
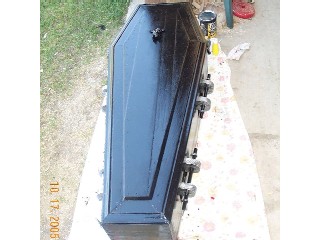
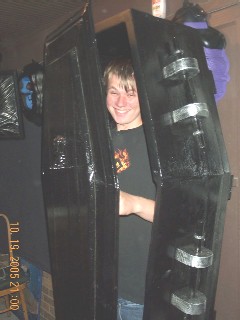
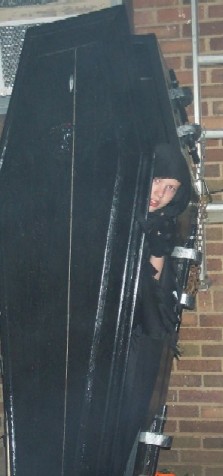
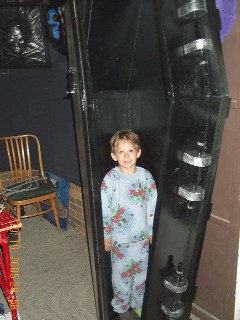
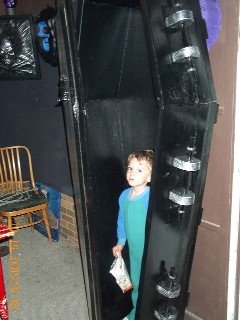
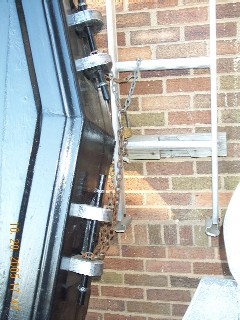
Coffin
