MONSTERMADE by Martin Dalcourt
Unfortunately I don't have very many photos of the step by step process this prop went thru to become The Grim Kreeper. My original concept was to have some kind of statue that would hold a sign. (btw; this is how I discovered 'Monster Mud' (<~~~ click to get the basics on what it is and how it is used to build static props)
Here are the photos that I found of him that were buried deep in my harddrive somewhere....
Enjoy!
Questions or comments: karaokehost@hotmail.com
Here are the photos that I found of him that were buried deep in my harddrive somewhere....
Enjoy!
Questions or comments: karaokehost@hotmail.com
Disclaimer
By viewing this site you agree that the use of all the info, content, methods, tools contained herein is solely at your own risk & there is no guarantee made herein.
You also agree to not hold Martin Dalcourt and this website (or it's affiliates liable for any damage, personal injury and/or death, or any other loss or damage that may result from the use of the following info, tools, materials and/or methods contained herein.
Questions or comments should be sent to: karaokehost@hotmail.com
MONSTERMADE by Martin Dalcourt
GRIM KREEPER
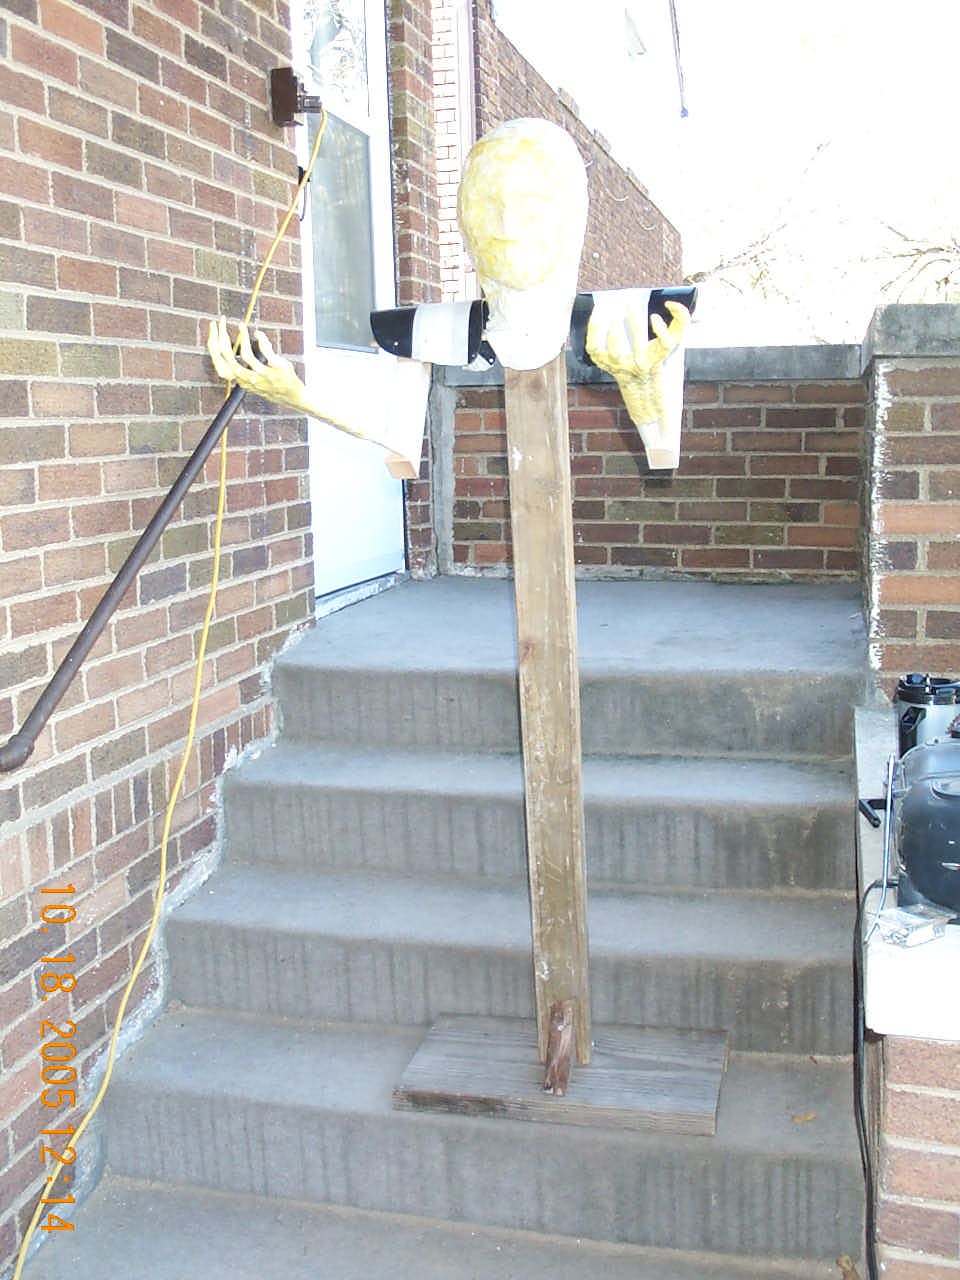
His Skeleton
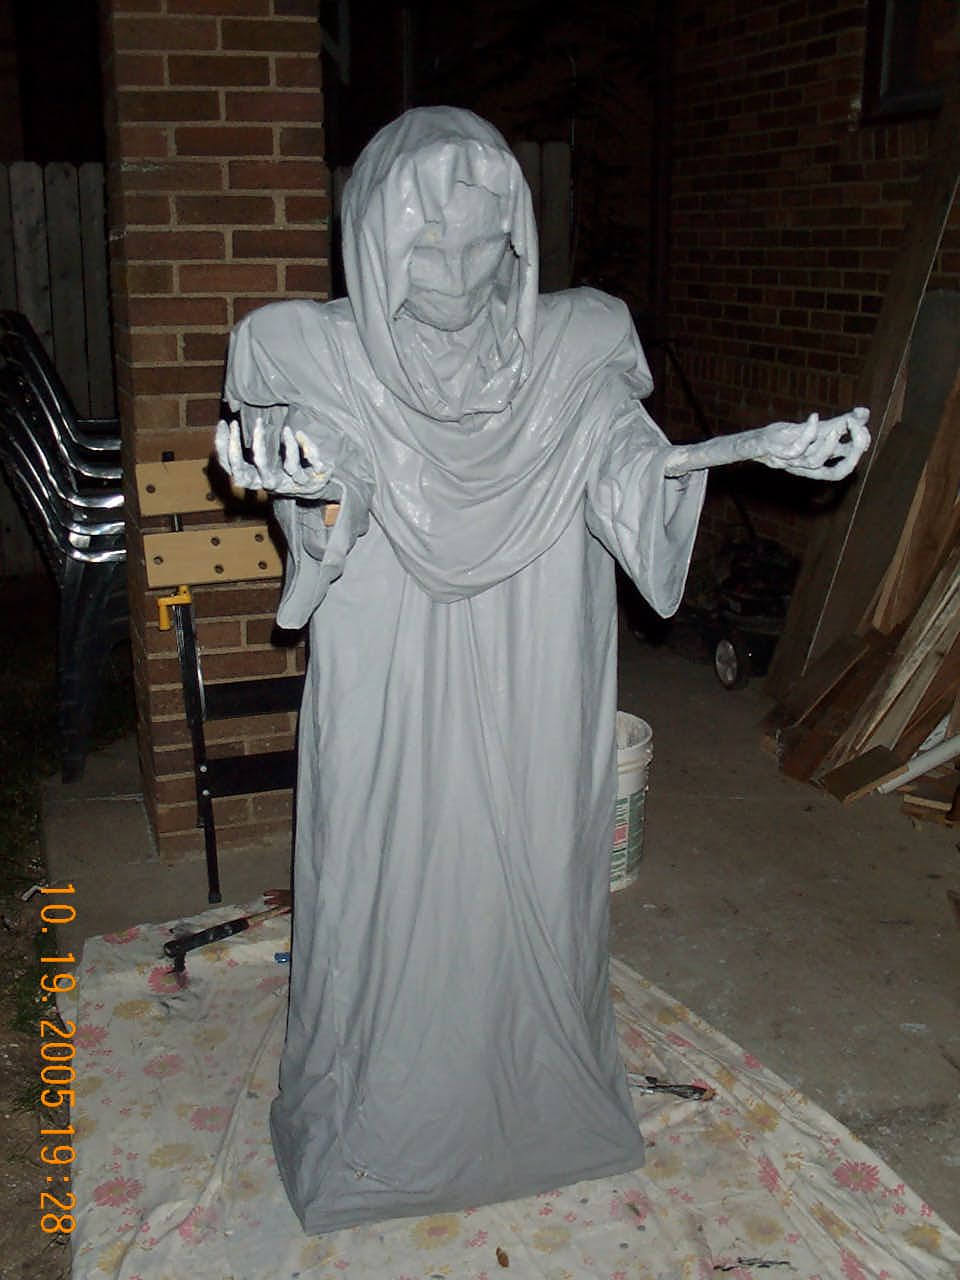
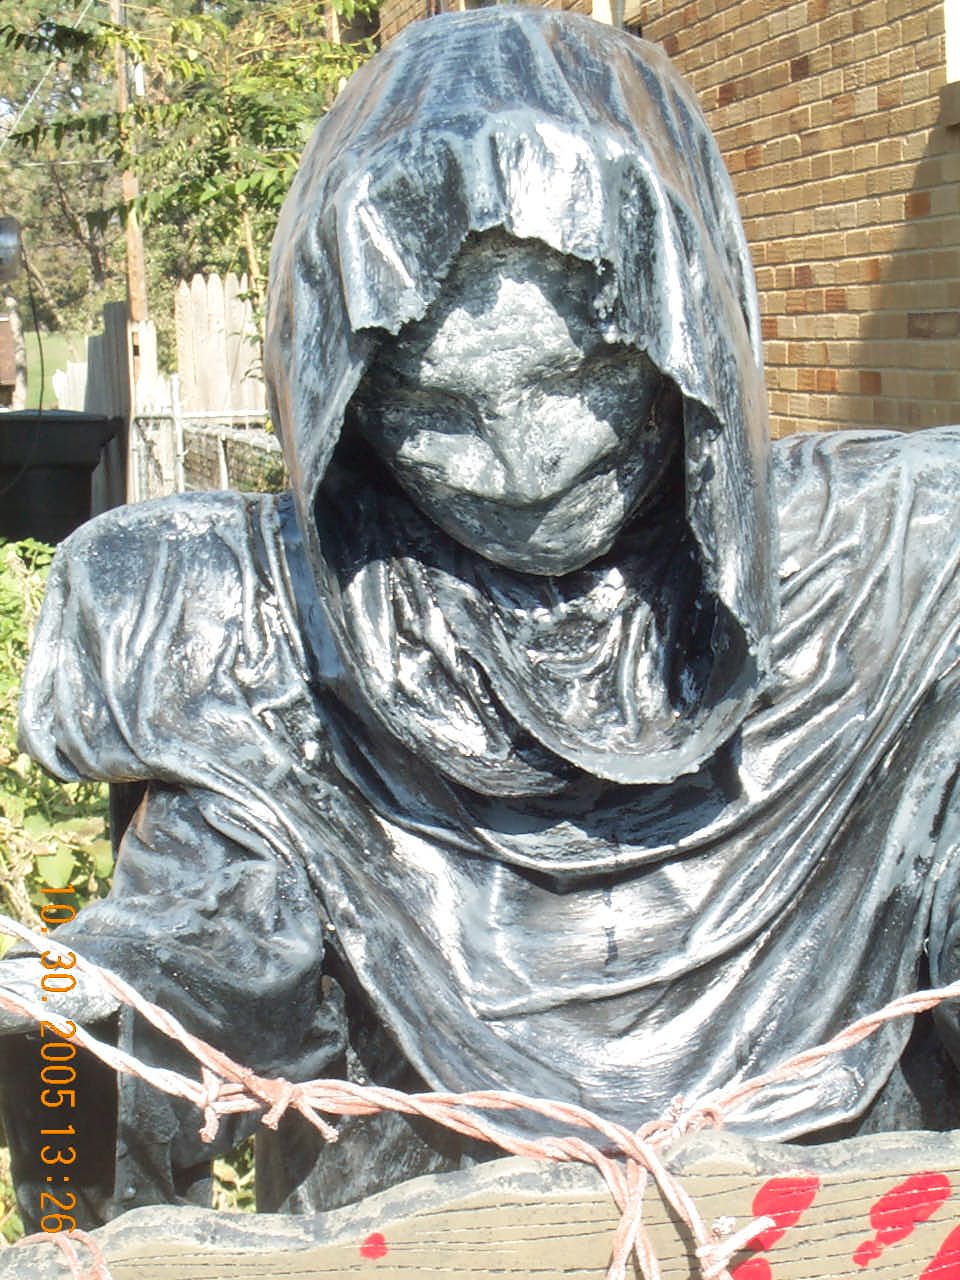
1. His head is a tinfoil casting of one of my older son's face covered in 'snot-rag mache' (several other terms have been used to describe this form of mache'ing (not sure if that's an actual word). the hyperlink goes to a simple how to which is where I got my inspiration.
2. His shoulders are the plastic front number plates that my boys had on their bikes. They took em off cuz they didn't look cool. But I saw what they could be vs what they were. I just layed them across the horizontal portion of the T-Body I errected out of old lumber. Upper arms were 2 more pieces of scrap wood. Curved into the shoulder shape with masking tape then stapled to the horizontal piece of wood.
3. The arms/hands were made using the snot-rag mache. Underneath the mache is a coat-hanger, cardboard, masking tape and thin pvc piping armature for support & strength. They were screwed to the upper arms.
4. Chicken wire was draped over the head and shoulders of the skeleton.
5. Old bed sheets became the gown for our creature which were soaked in a mixture of drywall compound & grey latex paint (aka: monstermud....
His Gown
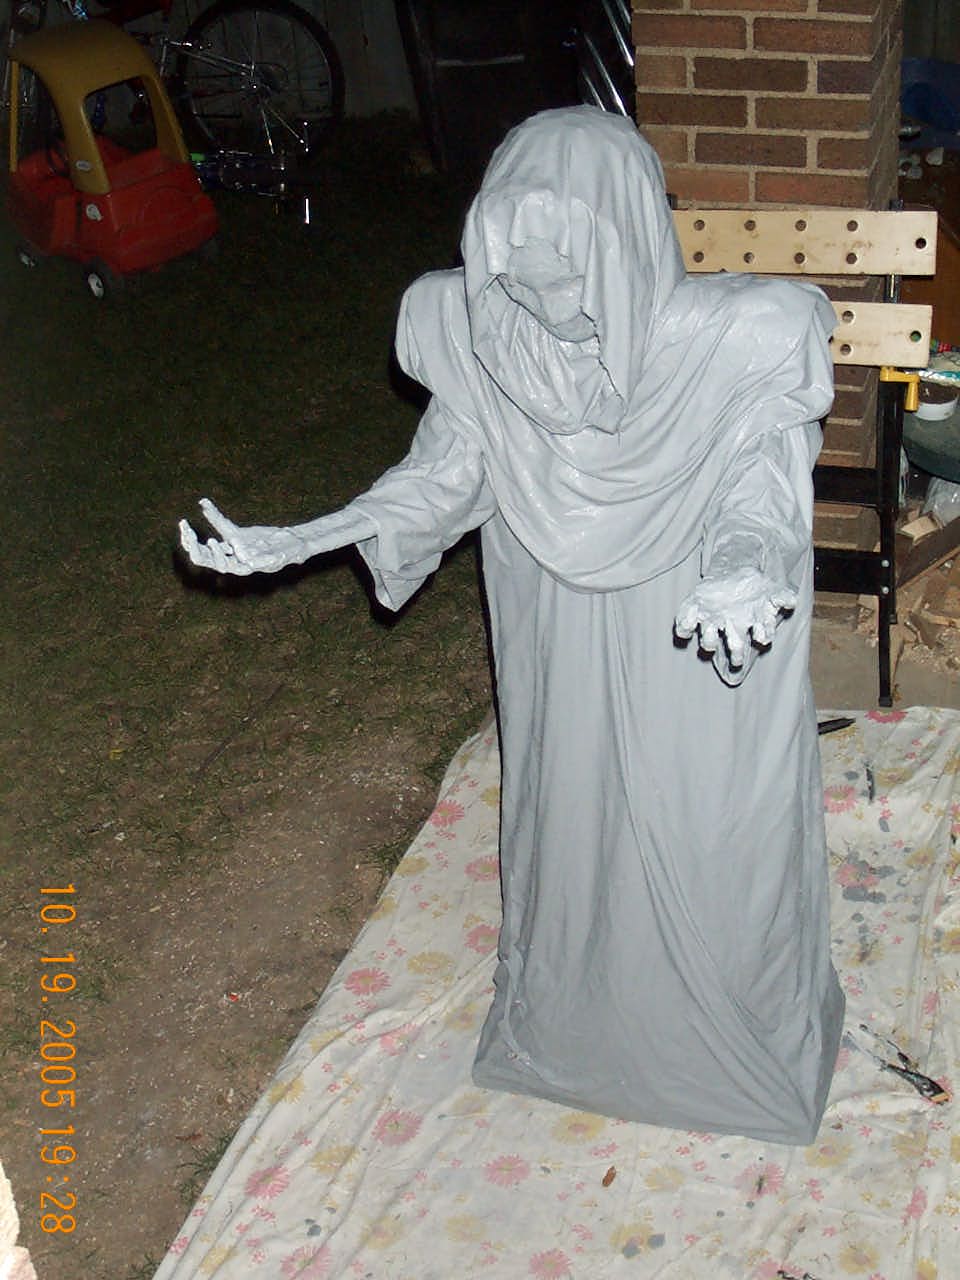
1. 2 bed sheets were used to get him all dressed up. A queen size sheet was used around the head and length of the body, some tearing and tucking was used to elimate any edges. A twin size sheet was used to create the front cowl which was wrapped around each arm to create the sleeves.
2. These sheets were soaked for about an hour in monstermud then drapped over the skeleton & chicken wire.
3. My oldest son Michael & I proceeded to slap on the monstermud via large paint brushes. We did approximately 6 coats. Several years later this prop looks worse for wear and will be getting some much needed TLC. I lent him to my wife to use to decorate her bay (when she still worked at 'Qwest') and the other employees just had to look with their hands and tugged at the arms until they cracked which in turn damaged the sleeves clear up to the shoulder. Fingers got broke as well... on the prop (unfortunately) (Pics of that coming soon....)
4. Even the lower arms & hands were coated in monstermud (right over the snot-rag mache).
5. The drying process was done outside in the backyard, as we had a roof over the backporch (which was very handy for working on props even while it rained).
Paint
Exterior Latex Paint (1 gallon of white & 1 gallon of black). Mixed together in small batches of diff shades of grey and coated (?) times at least 5 or 6 (I think) .... this is where the ADHD takes it's toll.... lol.
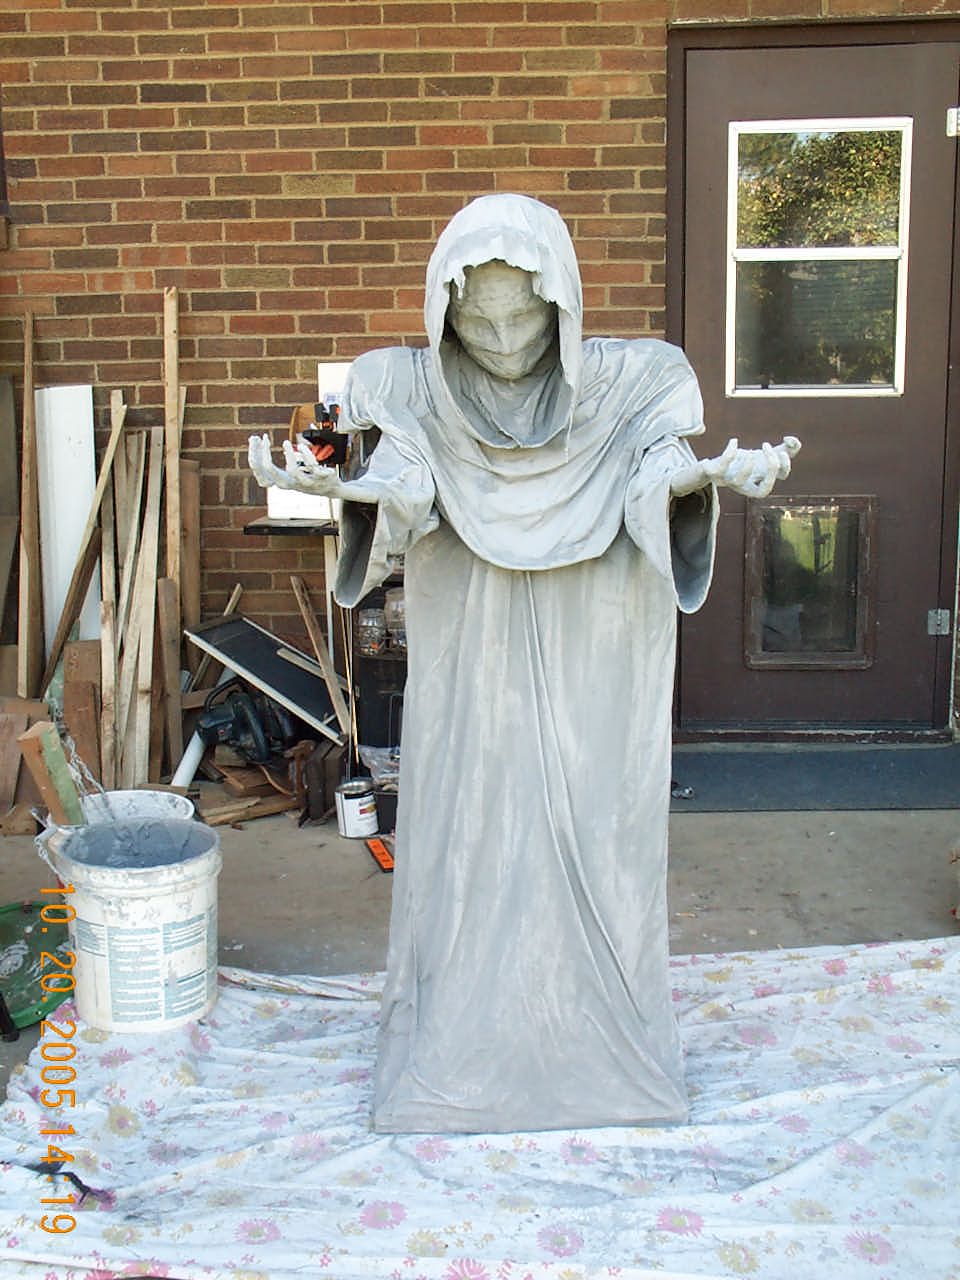
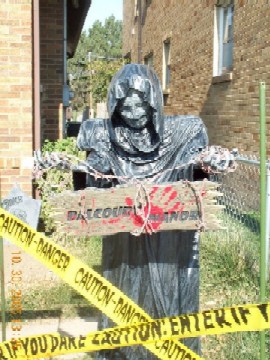
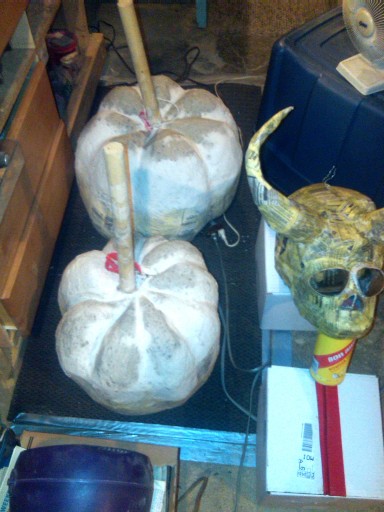
Here is a daytime shot. Nice mess in the background there... lol. Organization at it's finest.
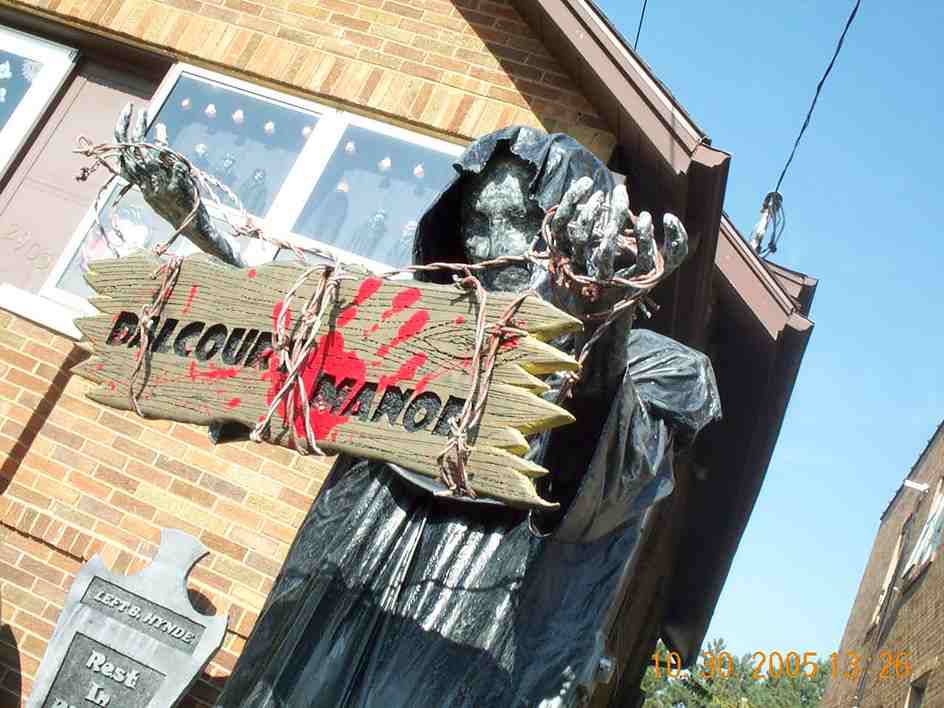
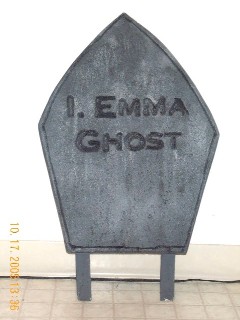
And here is Grim Kreeper reporting for duty... The sign in his hand is made out of a piece of foam board insulation like what is used to make tombstones. Which I carved lettering into then used a nail to drawn a wood pattern on, sanded all the edges to look like snapped wood and painted. The barbed wire is fake bought from Party City. But if you want to make your own faux barbed wire, check out Stolloween's How To.
Grim Kreeper Qwest Decor Pumpkins Tombstones
Props On This Page (In this order):
Props Page 2 (In this order):

Close-Up Pic shows how the different shades of grey mix to build an antique look to the prop.
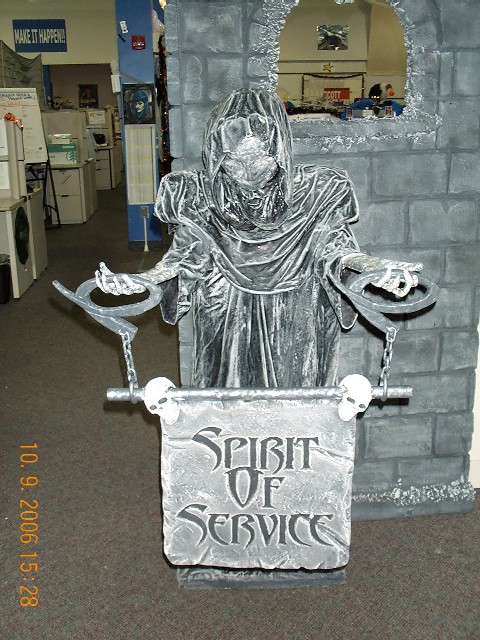
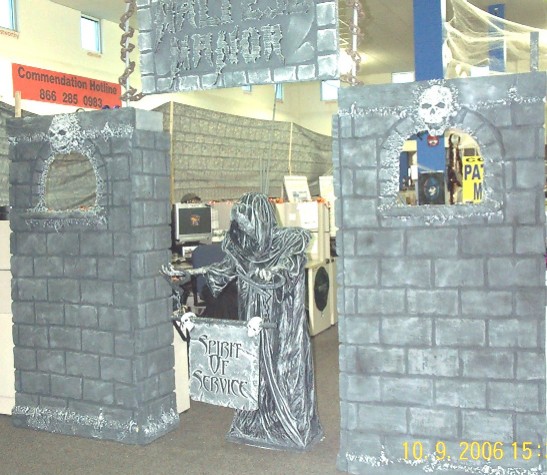
Here the prop is at Qwest with an added slogan sign. Made from pink insulation foam board a wrapping paper roll and 2 small paper mache skulls. The 'Q' handles are carved out of wood and attached to the pole using plastic white chain painted to look like metal.
The attention to detail on creating this prop helped my wife's sales & service team to win first place for their Halloween decorating contest.
Qwest Decor
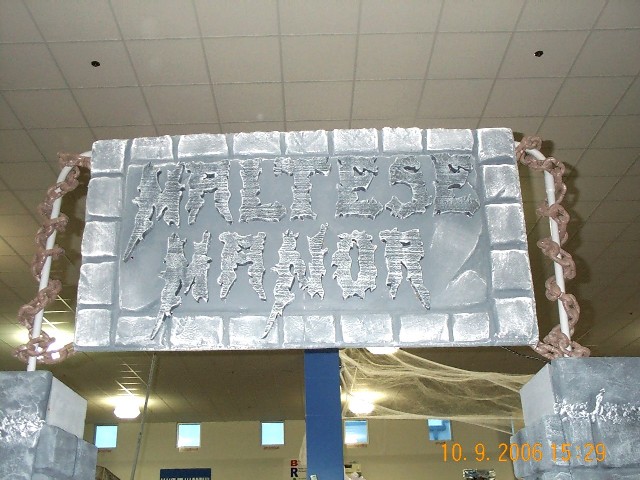
Here is the sign that went over the doorway entering into my wife's bay. Her boss's last name was 'Maltese' so I decided to name it appropriately. Also carved out of pink foam board with lettering that was raised and purple string lights in behind the lettering that gave an eerie purple glow.
The sign was attached using electrical conduit mounted in an 'n' shape over the entry way. Faux styrofoam chain was wrapped around the conduit.
The sign was attached using electrical conduit mounted in an 'n' shape over the entry way. Faux styrofoam chain was wrapped around the conduit.
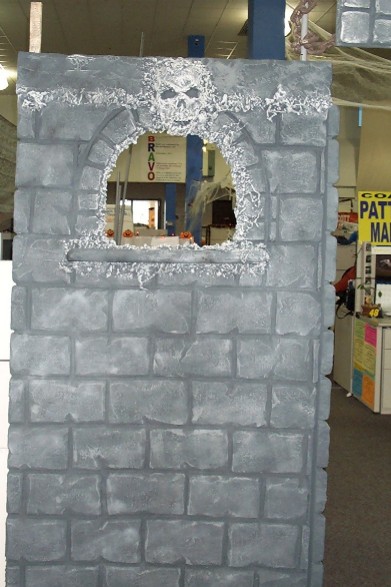
Beneath the sign on either side were windowed walls that were carved using a circular saw (for the brick lines). The lighter grey stuff around the window is expanding foam that was sprayed on then dabbled with a stick to get mildewy effect. The skull is a paper mache skull that i replicated from a plaster skull ashtray then glued to the foam. The entire wall was painted black then different shades of grey. 2 side walls were also made using an old wooden folding closet door that I glued the short sections of wall to.
Below is the entire set
Below is the entire set
Pumpkins (Paper Mache Paste & Clay)
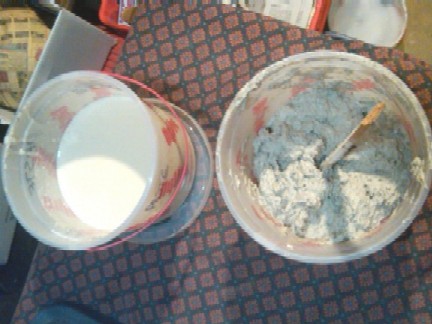
Let me start off by saying that I am no expert when it comes to working with paper mache paste or clay. But for the last 6 months I have spent everyday reading Scott A. Stoll's 'Stolloween' page. <~~ This link will take you to his 'The Basics' page which includes his recipes for both paste & clay. He is by far the most talented artist I have seen on the internet thus far (in regards to creating great Halloween static props using predominently paper mache paste & clay) and a true inspiration for some of the props I have been building. I use his recipe's for both the paste & the clay and they have been excellent for durability, ease of use and overall workability. He has made literally hundreds of props. Taught workshops and his resume is quite impressive.
I usually mix up a batch of paste and a batch of clay at the same time and use both in tandem when working on a prop.
I usually mix up a batch of paste and a batch of clay at the same time and use both in tandem when working on a prop.
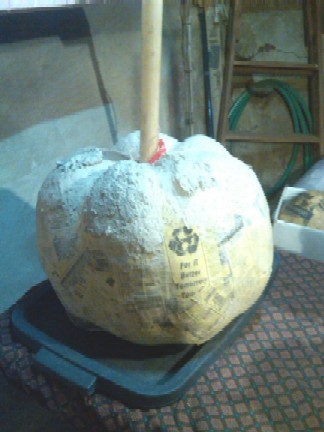
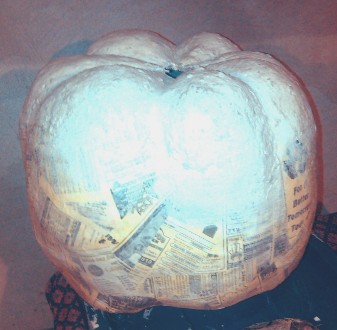
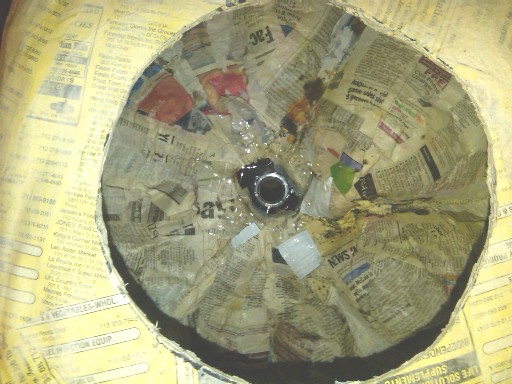
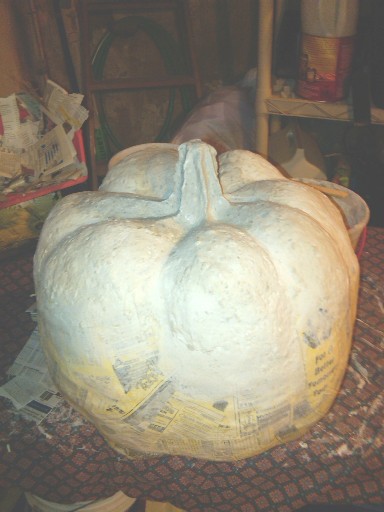
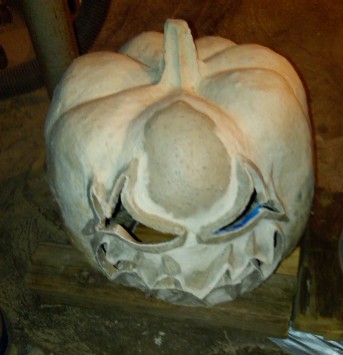
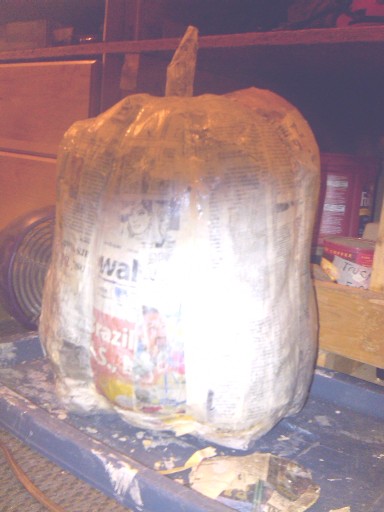
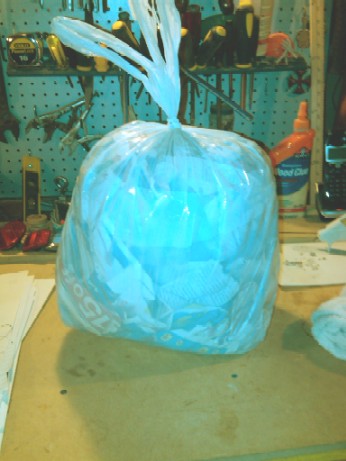
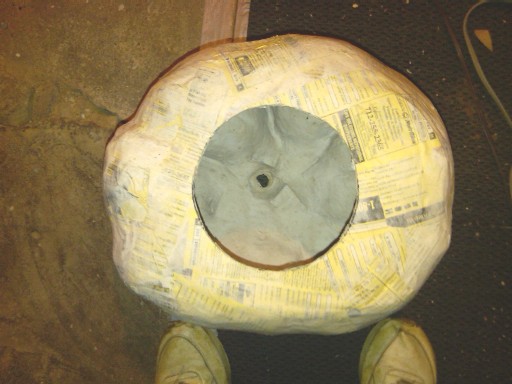
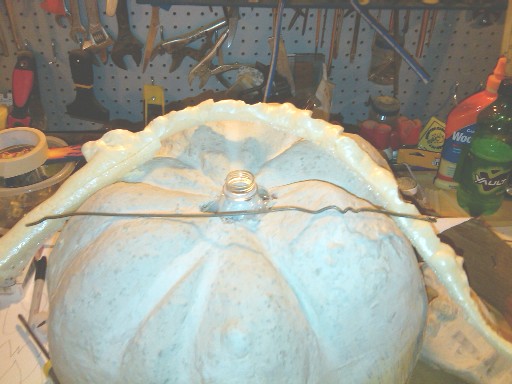
Here's my first pumpkin ever made... using Stolloween's method. The pumpkin is created by filling a kitchen garbage bag with enough newspaper to make it firmly full. It is tied off at the top, then string is wrapped vertically around the bag and secured with strips of masking tape over the string to create the humps or sections of the pumpkin. I did at least 10 layers of paper mache paste and newspapers over the whole thing. Afterwhich I also clayed the top portion of the pumpkin to further emphasize the humps. Once all dry, I cut a hole in the bottom of the pumpkin and removed all the paper. You'll notice a hole in the top.... my 1st 2 pumkins had a wooden dowel running down the center of the pumpkin to hold the string in place as well as give a handle to move the pumpkin around with while it was being layered in paper mache.
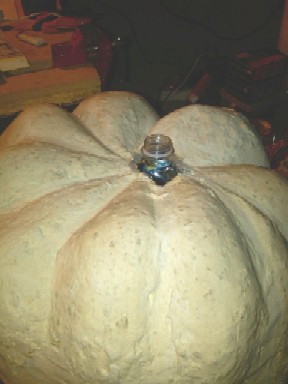
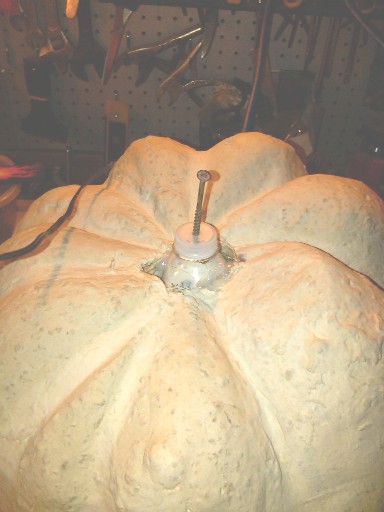
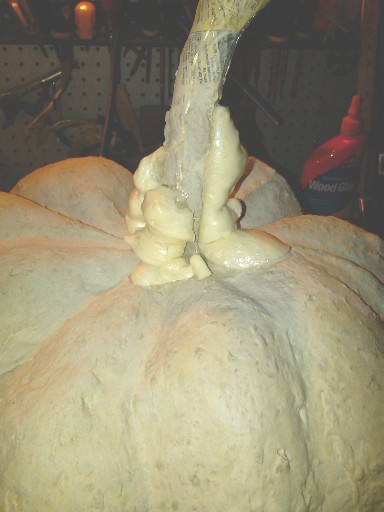
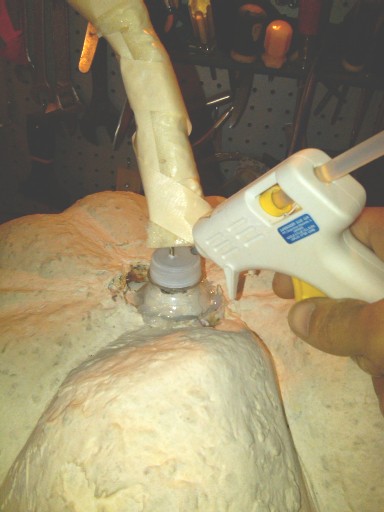
Once the pumpkin was fully dry the pole was removed. I used the top portion of a water bottle to create the base for my stem which is secured inside & out first with a hotglue gun, then with both paper mache clay & paste. [Shown below...].To create the stem for the pumpkin I insert a 3" wood screw though the top of the cap for the water bottle and screw the cap on. I wrap newspaper & masking tape around the screw, then using paper mache clay, I build around the masking tape and form the stem.

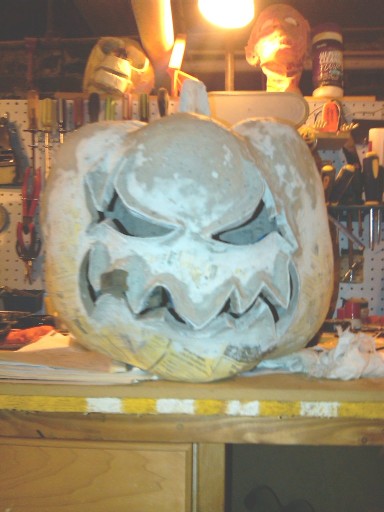
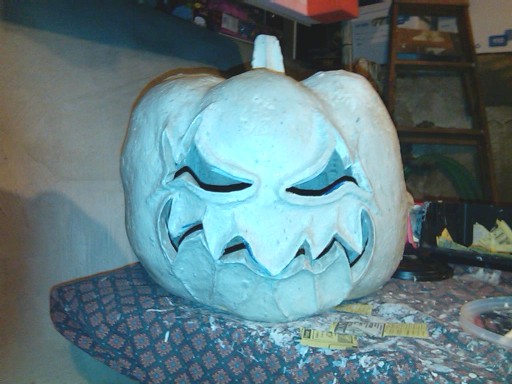
Now comes the fun part, designing the face. Using a sharpie, draw in features which are then cut out with an exacto knife.
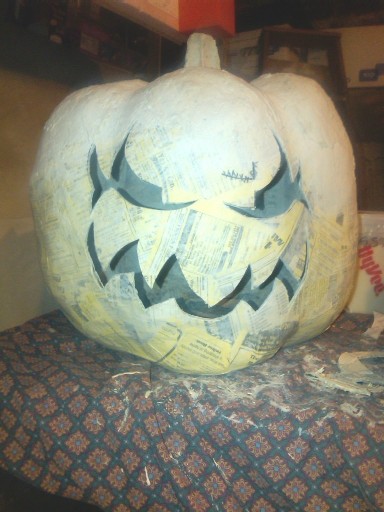
<~~ Once the features are cut out, strips of cereal box cardboard are hot glued to the edges of the cut-out features for structural support and as a guide as to where to build up the features using clay mache.
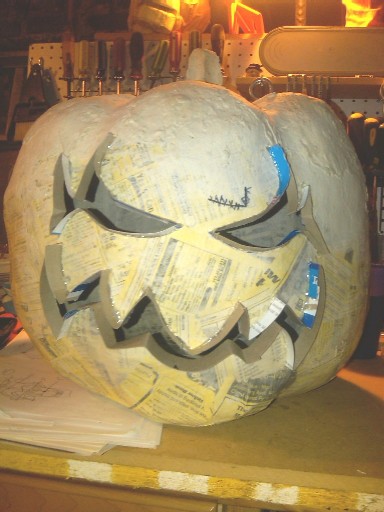
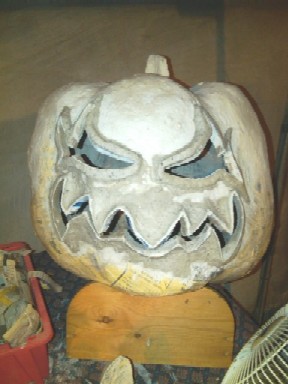
I built up the features ~~>
a little at a time so that each layer wasn't too thick to allow for proper drying.
I built up the features ~~>
a little at a time so that each layer wasn't too thick to allow for proper drying.
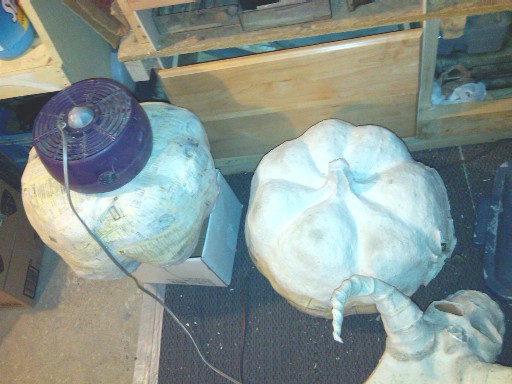
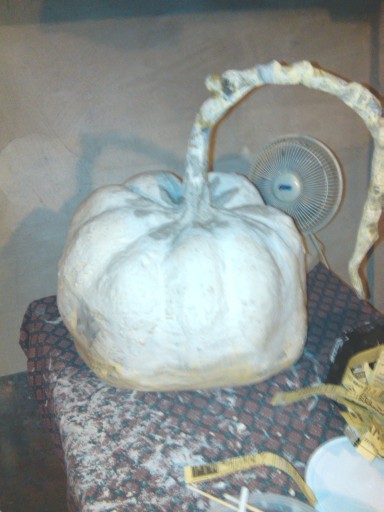
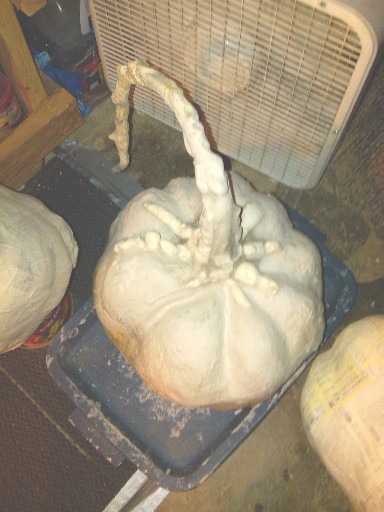
Big Pumpkin #2
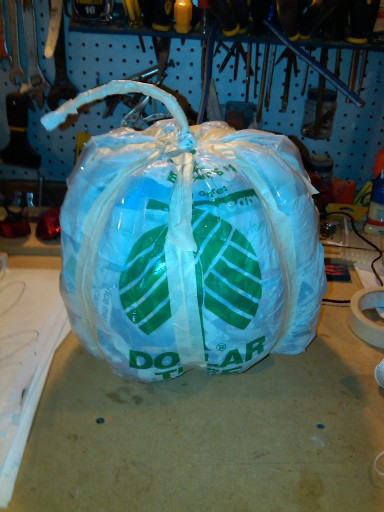
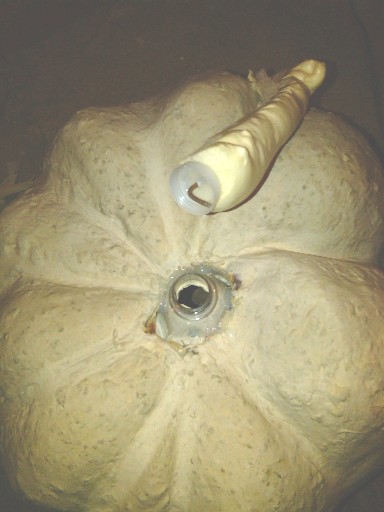
<~~ This pumpkin and all future pumpkins I make will have the the stem made at the same time that the papermache is applied to the bag.
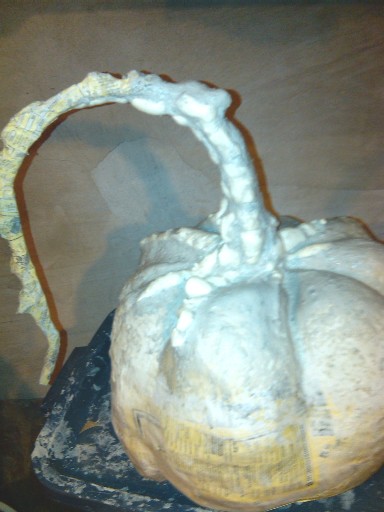
I decided to make this ~~> one with a long stem. I twisted the grocery bag handles and string together. I inserted a 6 " piece of coat hanger and then newspaper and masking tape were wrapped around the whole stem.
I decided to make this ~~> one with a long stem. I twisted the grocery bag handles and string together. I inserted a 6 " piece of coat hanger and then newspaper and masking tape were wrapped around the whole stem.
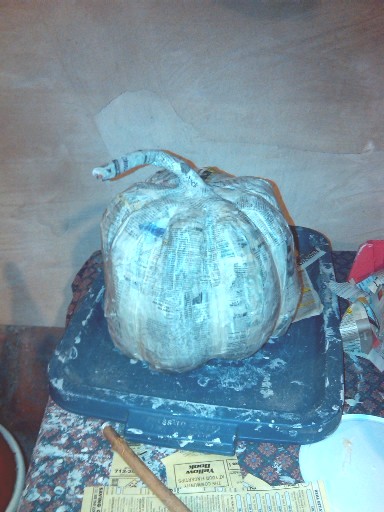
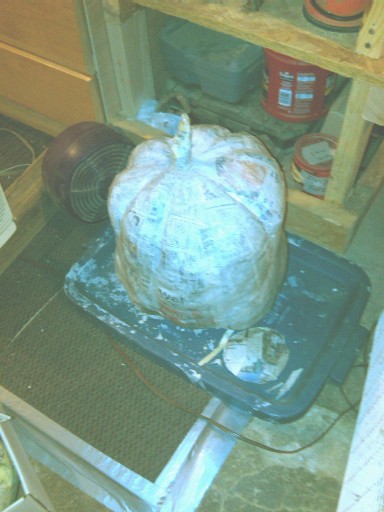
Here is the same pumpkin after 4 layers of newspaper & mache paste. Left to dry overnight...
How To's on Prop 2 Page (In this order):
'... Whenever I look at something, I see not only what it is but also what it could become with a little help from the Monster.'

Also starting on a couple more smaller pumpkins (using grocery bags to start)
.
.
On this pumpkin I was originally just gonna go ahead and put a normal stem on it.... but then I looked down and saw all the cuttngs from a recent 'great stuff' job I did in my basement on some cracks in the foundation. The trimmings had the perfect look for a really long stem so I started with the longest piece of trim and a coat hanger...
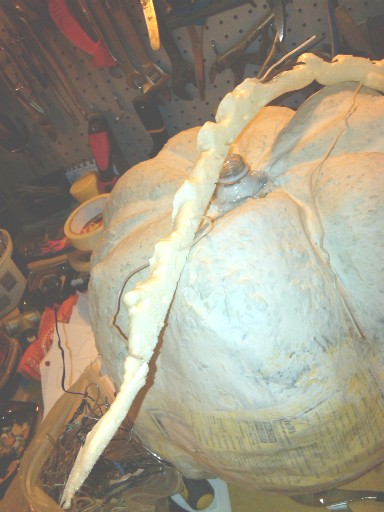
I weaved the coat hanger thru the foam strip almost like i was sewing a stitch all the way along the foam with the it.
I punctured a hole in the cap for the coat hanger then glued the cap to the end of the foam and bent the hanger, twist the cap on & voila!
So after some paper mache paste to fill in the cracks and hide the hanger.... I decided to go overboard around the base of the stump~~>
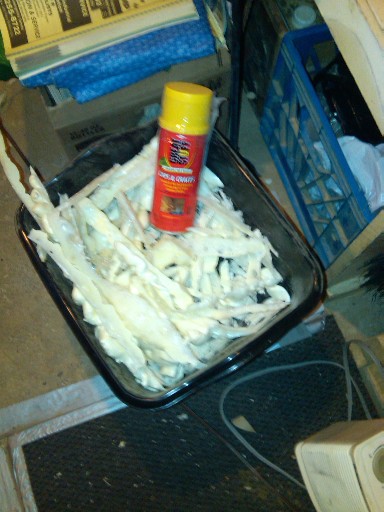
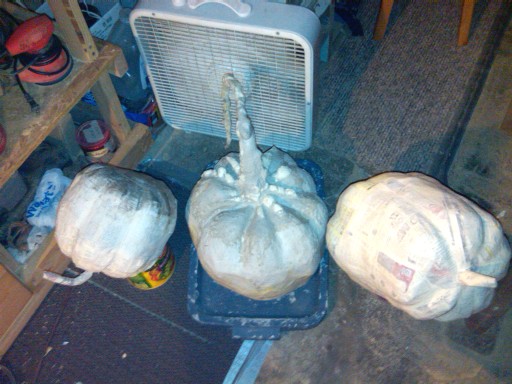
Here they are (below) all drying....
Here they are (below) all drying....
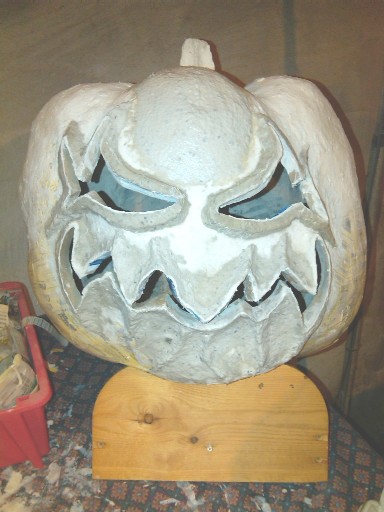
Big Pumpkin #1
Big Pumpkin #1 (recap)
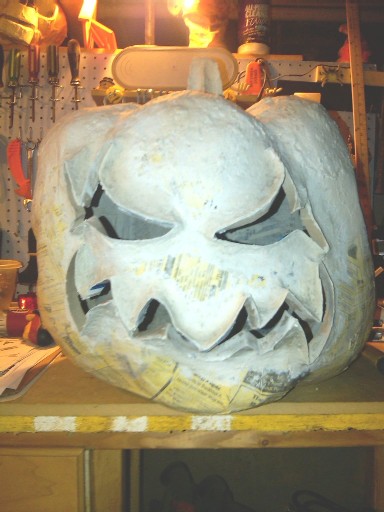
I mixed some of the paste and clay together and his entire exterior was brushed over with a heavy coat of it. Over the next couple of days I'll be doing the same to the inside and then we paint...
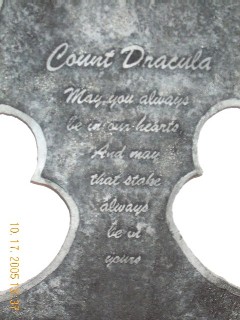
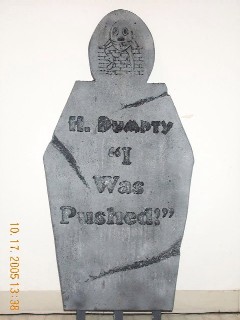
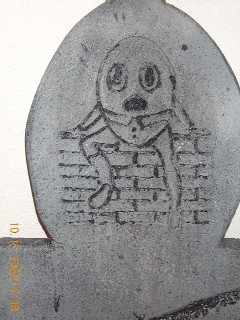
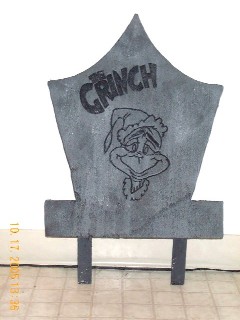
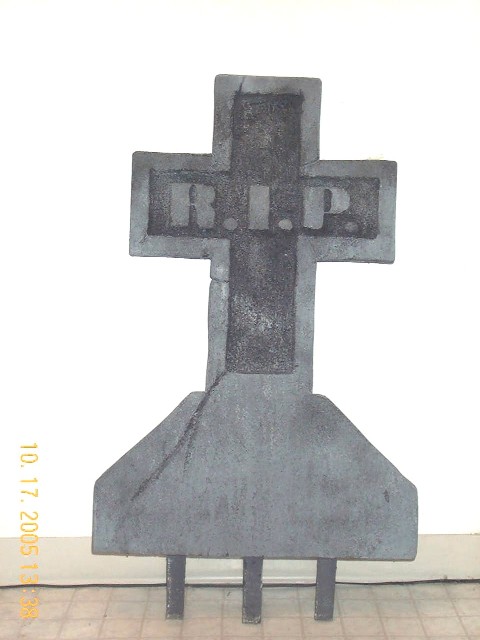
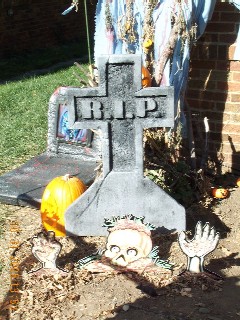
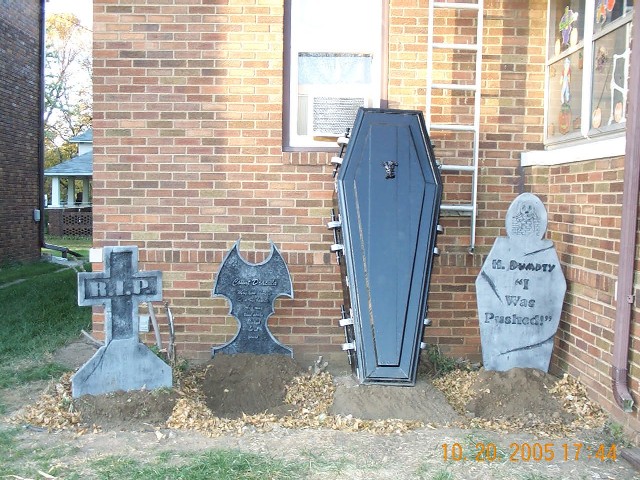
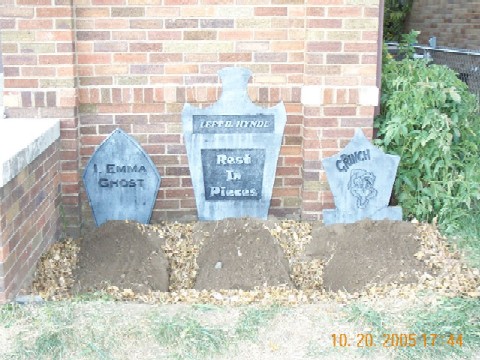
Tombstones